|
|
Raise a Service Request
Service Requests are requests raised by the user for support, delivery, information, advice or documentation, and is not related to any failure in the IT structure. The two modes through which requesters can raise service requests to the system administration team are:
- Requesters can call up the help desk agent and request for service. The help desk agent will in turn raise a service request by conducting a search for the service item from the list and manually feed in the users details. OR,
- Requesters can log into the Self Service Portal and raise the service request by themselves.
Click Request Catalog drop-down link to view the Template Categories and the Template List.
The Service Catalog list
The Request Catalog drop-down menu lists all the service items configured in the application. The service items are grouped under a service category for easy reference and identification. From the list of service items available to you, you can browse and raise a service request.
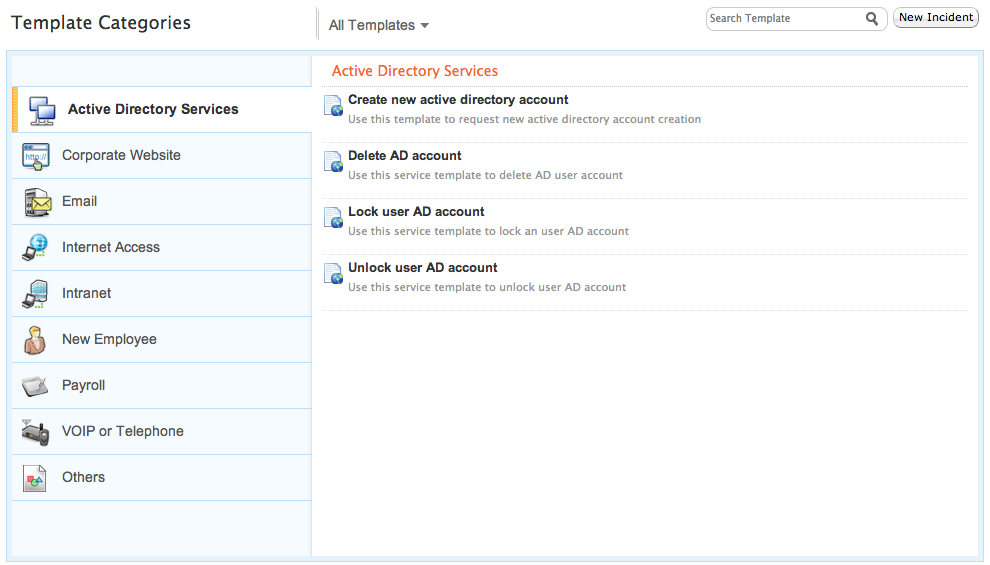
Raise a Service Request
Raising a new service request is by browsing through the Template List and select a service that is relevant to your needs.
Select the service item from the catalog. This takes you to the New Service Request form. Select the parameters such as Status, Level, Mode, Priority, Category, Sub category and so on, that is available in the template. To select a Requester from the list of users configured in the application, click requester lookup icon  beside the requester name field. The Requester List window pops up. Click the hyper-linked requester Name. The requester name and details associated with the requester are populated in the requester details block. beside the requester name field. The Requester List window pops up. Click the hyper-linked requester Name. The requester name and details associated with the requester are populated in the requester details block. 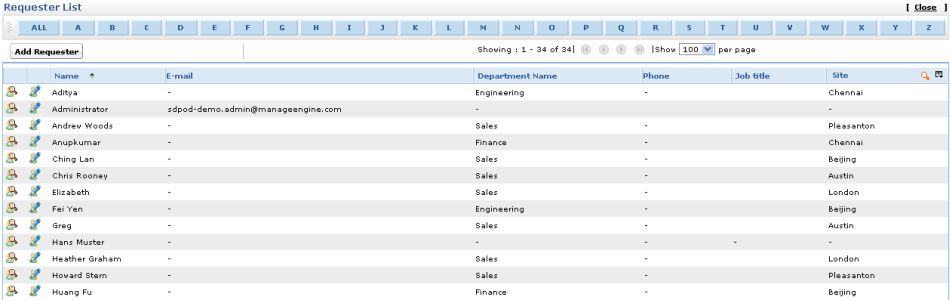
From the above list of requesters, click the hyper-linked requester Name to choose the requester. If the requester list is huge, then you can choose to view only a select group of requesters by clicking the alphabets at the top, or by entering a search string and clicking Go. Now choose the requester name. The name of the requester is displayed in the Name field in the Requester Details block. If there are any other details associated with the requester, such as Contact Number, Department, Job Title, Site and Workstation, then the relevant details will be populated in the respective fields. You can also add new requester directly by clicking the Add Requester button from the requester list page. - And also you can edit the requester details directly from this page by clicking the edit icon
 beside each of the requester name in the list. beside each of the requester name in the list.
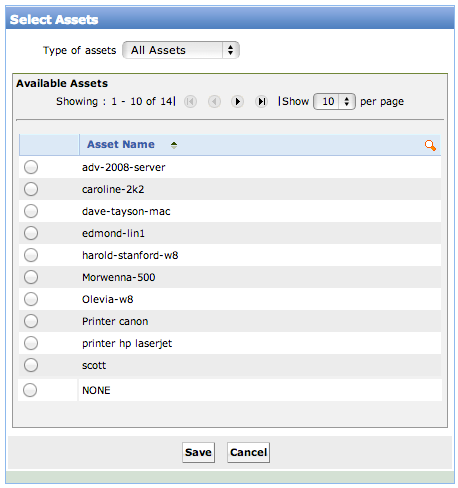
- The assets associated to the requester are populated in the Asset drop down. Select the Asset from the drop down. You can also select assets by clicking the icon
 . .
In Select Assets pop-up window, you can filter the assets by selecting the Type of assets such as, access point, routers, workstation and so on, from the drop-down. Selecting All Assetslists all the assets available in the application, irrespective of the asset type. You can further filter the assets according to sites associated to the logged in technician using the Site drop-down. Selecting a site lists the assets from that particular site.
Say, for instance, if the site selected is "New York" and the asset type is "Access Point", then all the access points associated to the site New York are listed.
By default, if the site location of the requester is configured in the application, then the same is populated in the Site field. On selecting the site, the groups corresponding to the site gets populated under the Group field. The request is routed to the particular group by selecting the Group name from the drop down. On selecting the Group, technicians associated with the Group alone are listed in the Technician drop down list. Select a Technician to handle the request from the drop down. For a service request template, the subject line is already specified. You can change or modify the subject. The subject line is displayed as the request title and is a mandatory field. Provide a detailed description with any other associated details relevant to the request in the Description text box. To add any attachments relevant to the service request, click the Attach file button in the Attachments block. The Attach File pops up as shown below, 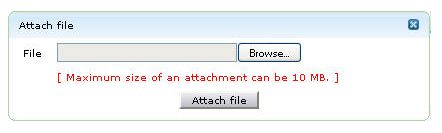
Click the Browse button and select the file to be attached from the file chooser window and click the Open button. Click the Attach file button. The selected file is listed below the Attachments heading. If you have more files to choose, follow steps 2 and 3 repeatedly till you have attached all the relevant files. Please ensure that the maximum size of the attachment is 10 MB.
The attached document is indicated with an attachment icon beside the title of the request in the request list view page.
While entering the request details, if you have a solution for the service request, then the same can be entered in the Resolution field. Click Add New Request button. The request details page is displayed from where you can perform further actions on the service request.
Please note that the following operations cannot be performed on a service request - Merging requests,Duplicating requests and Associating Problems to a request.
|
